


Lanterns. Part 2
Description
This section is from the book "Design and Construction in Wood", by William Noyes. Also available from Amazon: Design And Construction In Wood.
Lanterns. Part 2
Lay the pieces of one side, outside down, in their proper position in this space. Put in the strip 0 and drive in the wedges B, B, making all true and square, and seeing that there is no buckle.
At all the joints drive in 3/16" corrugated fasteners. Repeat on all sides. Stain the whole with brown oil stain and rub well.
Find some brown or manilla paper which gives a pleasing color by transmitted light, and glue on the inside of the four sides with liquid glue. Raw silk and grass cloth are also very effective.
Fasten with glue and brads two narrow cleats 5/10" square, and 3" long, on the inside of two opposite sides near the bottom, as at a, Fig. 201.
On these fasten with brads a strip, b, running across the lantern inside. To the middle of this is to be screwed a copper candle holder (socket and pan), made as described on p. 92. The simplest saucer to make is round and hammered convex with a horn hammer into a mold cut out of hard wood.
Screw four small screw-eyes (No. 214½) (14 gage wire, 3/16" hole) into each of the upper inside corners, by means of which and a copper chain or wire the lantern may be hung.
The hanging lantern shown in Fig. 197 is simpler still in construction, since there is no fret-work. In this style of lantern Japanese stencils are used. In making it, buy the four stencils, first"
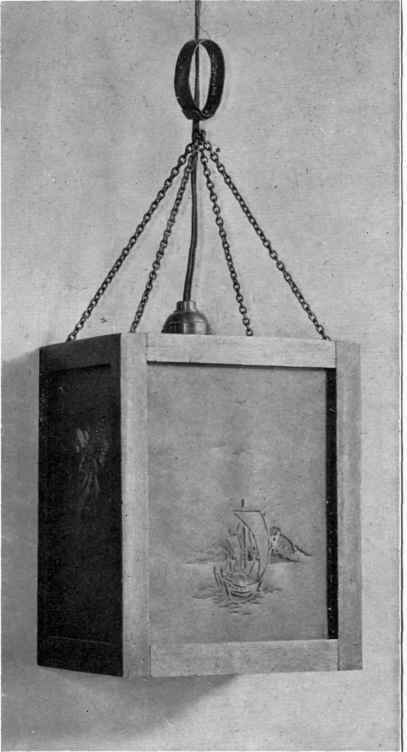
Fig. 197 Hanging lantern.
12These can be obtained in New York of O. Shima, 20 East 33rd Street, at a cost of about 25c each.
and make the lantern to fit them. The paper of which these stencils are made is almost opaque. If a more translucent effect is desired, Oil the stencils. Or, the stencils, as shown in Fig. 198, may be traced from the original Japanese stencil on brown writing paper or other suitable material, and then cut out with a sharp knife point on a piece of glass. In this way, fine clear edges can be obtained.
II. Wall lanterns. In making the screen and bracket, shown in Figs. 198 and 202, make the screen first. The stiles and upper rails are all of the same thickness and width, 5/16"x⅜". The bottom rails are ⅝" wide. On the whole the simplest joint for such small pieces is the end-lap. Dress up all the parts and cut to the desired lengths, (stiles 8½" long, rails 3¾"). The fitting together is a fine delicate job, requiring twelve distinct joints. If the lantern is made larger, say twice as large, the joints may be butt joints and doweled together. (For directions, see Handwork in Wood, p. 152, No. 8). Or, it may ba put together with corrugated fasteners, as in the hanging lantern (Fig. 200).
To make the end lap joint see Handwork in Wood, p. 156, No. 16. When the parts are glued together and dry, the 30° bevel should be planed off on both long edges of all the panels. Make the bottom of the screen ½' thick in the form shown in the plan in Fig. 202, i. e., half a hexagon, so that its sides shall be just equal to the short (inside) width of the panels.

Fig-. 198. Wall lantern.
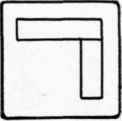
Fig. 199. Cor-ner posts of lantern.
To lay out the hexagon, with a compass, draw a circle whose radius is equal to the desired length of one of the six sides. As only half the circle is required place one leg of the compass on the edge of the board. From the point where the circumference touches the edge of the board, step off on the circumference a distance equal to the radius. Repeat from the opposite point of the circumference, and connect by straight lines the points thus obtained, a, b, c, d, and the half-hexagon desired is drawn. Also inscribe a smaller circle of 2¼" radius to make room for the candle-stick which is fastened to the bracket. See Fig. 202. Saw and plane out this shape.
Continue to:


My Books

