


The Mitered Picture-Frame. Part 7
Description
This section is from the book "Design and Construction in Wood", by William Noyes. Also available from Amazon: Design And Construction In Wood.
The Mitered Picture-Frame. Part 7
Prepare thin strips of wood, say ⅛" thick and ⅛" wider than the frame is thick. Round off one edge as follows: - Fasten the jack plane upside down in the vise, hold the strip at an angle and pull it over the plane cutter so as to plane off an arris, Fig. 92. Do this for both the arrises on one narrow edge. Finish it round with sandpaper. Or better, round this with the hand header, Fig. 89, or the cornering tool (Handwork in Wood, Fig. 124.) Drive thru these strips several little brads, so that the points project slightly and fit them exactly in place on the outside of the members of the frame. Prepare several handscrews so as to clamp these strips to the mem-
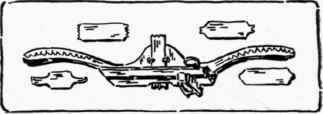
Fig .89. Hand beader with cutters.
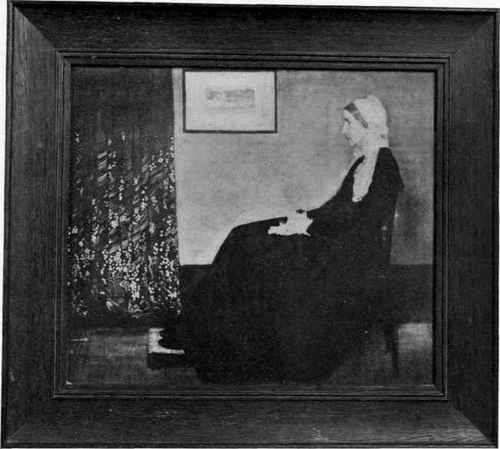
Fig-. 90. A frame with delicate moldings, in keeping with the delicate handling of the painting. See also Fig. 91 bers, taking care to protect the inner edges of the members by waste strips of wood, Fig. 93. When all is ready glue the strips in place, clamping them firmly with the handscrews. The brads will keep them from slipping out of place. Wipe off superfluous glue carefully with a rag moistened with very hot water. When dry, remove the handscrews and pull out the brads. The brad holes can be closed up by wetting them and placing a hot iron on them. This, by the way, is a good method of closing up all surface bruises where the fibers themselves are not broken. Finally cut the miters and proceed as before.
A frame can be made to look lighter by plowing out a narrow rabbet on the outer edges of the members as in Fig. 88, g. This can best be done before the miters are cut, but it may be done after assembling. In this case, before rabbeting take care to trim off with a chisel the arrises at the corners of the frame so that they will not splinter off. See above, p. 44, Fig. 26.

Fig. 91. Improvised molding scraper.
Of essentially the same construction as a picture-frame, are the glass bottomed trays, shown in Fig. 94. They are made with mitered molding, and the joints are mitered with a slip-feather inserted. A Japanese stencil is laid between the two sheets of glass, fastened into the rabbet with thin strips tacked in place.

Fig". 92. Method of planing off chamfer on a thin piece of wood.

Fig. 93. Method of clamping nosing on outside of picture molding.

Fig. 94. Glass bottomed trays made with mitered frames.
6-
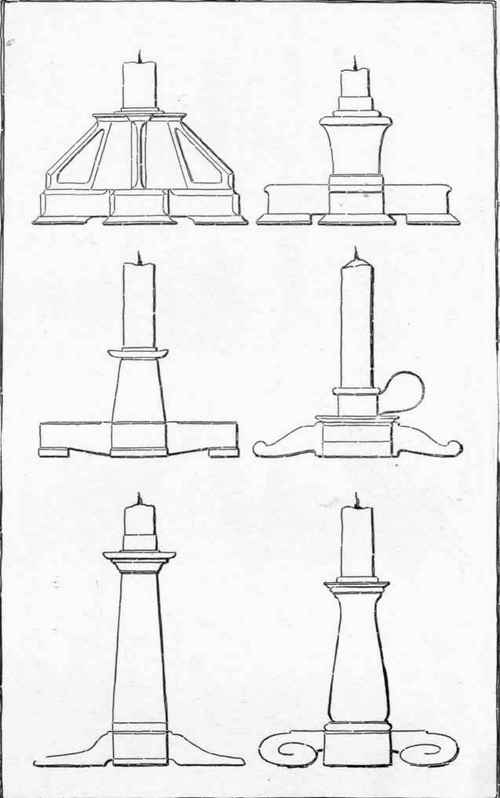
Fig. 95. Candlesticks.
Continue to:


My Books

