Lesson VIII One-Inch Bead
Description
This section is from the "Elementary Turning" book, by Frank Henry Selden. Also available from Amazon: Elementary Turning.
Lesson VIII One-Inch Bead
Be careful to work this piece to correct size. If a lead pencil line is made at the center of each bead
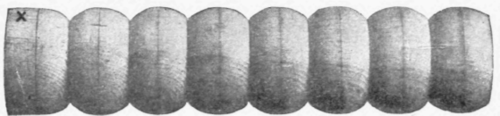
Fig. 32. One-inch Bead.
(Fig. 32), the turning of the bead is apt to be more satisfactory.
Work carefully, leaving the pencil marks to be seen when the work is finished. Avoid cutting too deep between the beads as you mark the spaces with the point of the chisel, and also as you turn the beads.
Turn from two adjoining beads down to the central space, taking a shaving first from one bead and then from the other (Fig. 33). This is much better than turning both sides of a bead at once, as this

Fig. 33. Turning a Bead.
requires the making of a square shoulder at the adjoining bead.
When the turning is finished, there should be no unevenness between the beads. The curves of the two adjoining beads should exactly meet. Any roughness at this point hinders the giving of a proper finish to the piece. Even though the piece is not to be sandpapered or shellaced, the work should be done as if it were to be finished in this manner.
Continue to:
My Books

