Number XXII. Pin Tray
Description
This section is from the "Elementary Turning" book, by Frank Henry Selden. Also available from Amazon: Elementary Turning.
Number XXII. Pin Tray
The making of the pin tray illustrates a method applicable to the making of many small articles.
The reason for using a spur chuck, Fig. 275, instead of a screw chuck or of gluing a piece to the chuck with paper between, is to save time and trouble.
See that the blank has been sawed nearly to size before placing it on the chuck (Fig. 224). Turn the edge and a little of
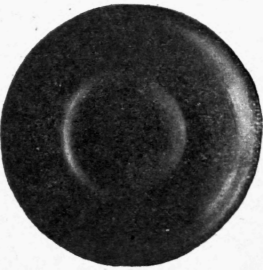
Fig. 223. Pin Tray.
each surface near the edge with the tee rest set as in Fig. 225. Use the tool as in Figs. 125 and 126.
Before sandpapering the edge, set the rest as in Fig. 226, and turn nearly all of the inside, using the tools, as in Figs. 126,
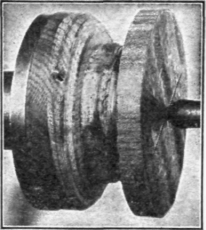
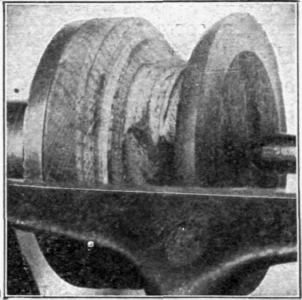
Fig. 224. Pin Tray Blank on Chuck.
127, and 128. Remove the rest, and then sandpaper and polish the edge and a little of each side.
After the edge has been polished, place the piece in a chuck, as shown in Fig. 227, and then finish the bottom. The last step is to reverse the piece in the chuck and finish the center and the inside.
If the edge is marred while in the cup chuck, the tray may be placed on the spur chuck, using the small holes as at first, and then refinish the edge. A block
Fig. 225. Pin Tray, Edge Turned.
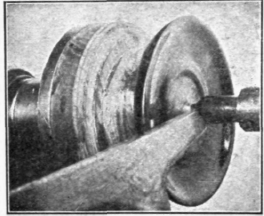
Fig.226. Pin Tray, Inside Turned.
should be placed between the end of the dead-center and the finished inside surface.

Fig. 227. Pin Tray in Cup Chuck.
Continue to:
My Books

