Course In Raphia. Continued
Description
This section is from the book "Raphia And Reed Weaving", by Elizabeth Sanborn Knapp. Also available from Amazon: Raphia and Reed Weaving.
Course In Raphia. Continued
Model IX. - Sewing Case
For this model two pockets are made, one with the bottom one and one-half inches wide, six inches long and sides four inches deep ; the other one enough larger to admit of its slipping down outside the smaller, thus forming a secure covering for the scissors, thread, etc., usually carried on a short journey.

Model IX. Sewing Case.


Model XI. Wall Pocket.
Model X. - Letter Case
Length of bottom, six inches. Width of bottom, one inch. Depth of side, three inches. Sew into shape and add back for hanging, as indicated in the illustration.
Model XI. - Wall Pocket
Make oblong mat twelve inches long and eight inches wide; fold up one end so as to make the front of the pocket four inches deep. To each corner of this is fastened a braided strand two inches long, the other ends of which, being fastened to the back, hold the pocket in position. Add braided cord and tassels to the upper corners for hanging. This is very effective when made of coarse braid.
Model XII. - Thermometer Back
Sew the braid to fit the thermometer, leaving a one-inch margin. Fasten a cord and tassel for hanging.
Nail the thermometer into position, using brass escutcheon pins and clinching the brads at the back.
Model XIII. - Calendar Back
Sew back to size for calendar, leaving suitable margin. Glue calendar to position.

Model XII. Thermometer Back

Model XIII. Calendar Back.

Model XXV. Handkerchief Case.

Model XV. Tray.
Model XIV. - Handkerchief Case
Make a braided square, eight by eight inches. Fold three of the corners to the center and sew to position. Place loop on the remaining corner, and sew a button to the case for fastening the flap in position.
Model XV. - Tray
Make a square eight by eight inches. Fold all corners to the center and then back again to the outside edge. Sew the edges together and fasten the corners down.
Model XVI. - Sunbonnet
The braid of raphia used for the front of this model should be very firmly and finely woven, and in width be not more than one-eighth of an inch at the edge near the crown of the bonnet, and but a little wider at the front edge.
In sewing the braid into shape use thread, with a common sewing needle. The crown may be made of turkey red muslin, or of any color to suit the taste of the child making it. The front should be fitted to the doll's head. After sewing in the crown, add strings for tying, and a bow for the front of the crown,
Model XVII. - Book Bag
Sew the braided raphia into an oblong piece fourteen inches long, five inches wide. Double the ends together, and join the edges by a raphia strand, braided and sewed on in zigzag fashion, leaving the sides open for about one inch, as shown in Fig. 1. Add the handles.
These bags may be made of different sizes, and used for various purposes,

Model XVI. Sunbonnet

Fig. 1.
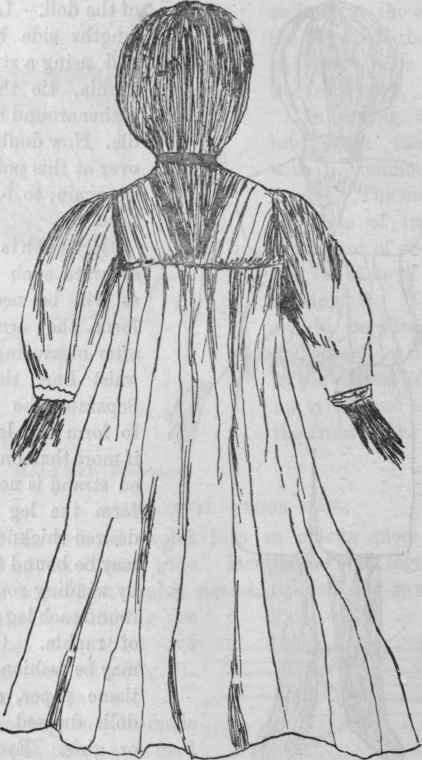
Model XVIII. - Raphia Dolls. I
After braiding a length of raphia, in thickness about the size of the little finger, cut it into pieces twice the length desired for the height of the doll. Lay these lengths side by side, and using a strand of raphia, tie them together around the middle. Now double them over at this point, and tie again, to form the head.
From this point separate such portion as will be needed to form the arms, and after measuring off the waist line, tie here. Separate the strands to form the legs, and if more than one braided strand is needed to form the leg of the desired thickness, they may be bound together by winding round and round each leg a strand of raphia. Clothing may be fashioned from tissue paper, and the dolls dressed as boys or girls. Eyes, nose and mouth may be marked with ink.

Model XVIII. Doll I.
Model XIX. - Doll. II
Many strands of raphia are laid side by side, on the desk, and then tied together around the middle. Double the strands over at this point, and tie another strand around these at the point where the neck is to be formed.
Model XIX. Raphia Doll.
The size of the head thus formed will depend upon the number of strands of raphia used. From this point separate, at each side, enough strands to form the arms, and into this part insert fine bonnet wire, one piece for each arm (copper wire may be used), and plait, in a three strand braid, the portion set aside for the arms. From the remaining strands form the body, and tie again at the waist line, and then separate the strands into two equal parts. Now insert two pieces of wire, each as long as the doll from head to toe, passing the ends up into the head, and braid these strands to form the legs. The use of the wire permits the bending of the body. Three pieces may be inserted into each arm, and six pieces into the body. This will give more firmness to the braided strand.
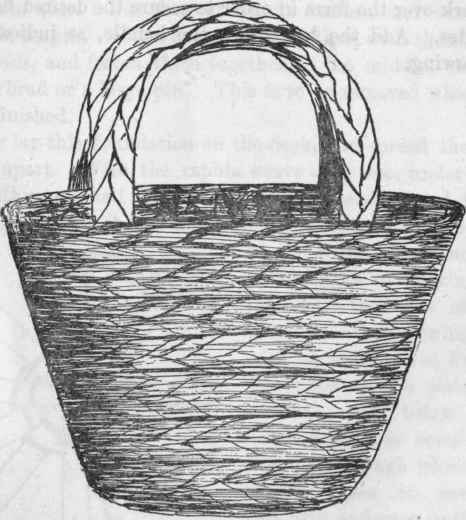
Model XX. Shopping Bag.
Model XX. - Shopping Bag
The making of this model is simplified by using a form over which it is shaped. To make this form, cut two pieces of heavy cardboard to the size and shape desired for the face of the bag. Place between these pieces enough paper or cotton to form the desired thickness, and wind around with cord. Having braided the raphia, sew together to form an oblong piece, fitting the bottom of the form. From the edges of this bottom piece form the sides of the bag, frequently placing the work over the form in order to secure the desired flare for the sides. Add the length for the handle, as indicated in the drawing.
Continue to:
My Books

