


Model XXVI. - A Framed Bracket Shelf
Description
This section is from the book "Manual Instruction: Woodwork. The English Sloyd", by S. Barter. Also available from Amazon: Manual Instruction: Woodwork.
Model XXVI. - A Framed Bracket Shelf
Fig. 268
This is a variation on the haunched mortice and tenon joint, and gouging on a curved surface is introduced.
The drawings should be the projections in fig. 268, and the section of the framing and back.
The timber required, bass-wood, Weymouth pine, or walnut, will be -
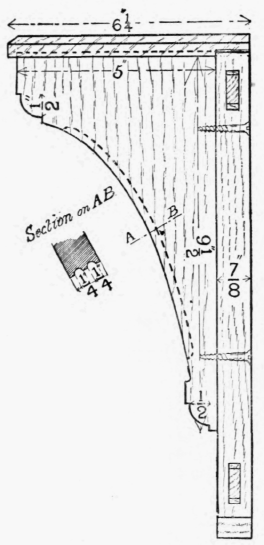
Side elevation.
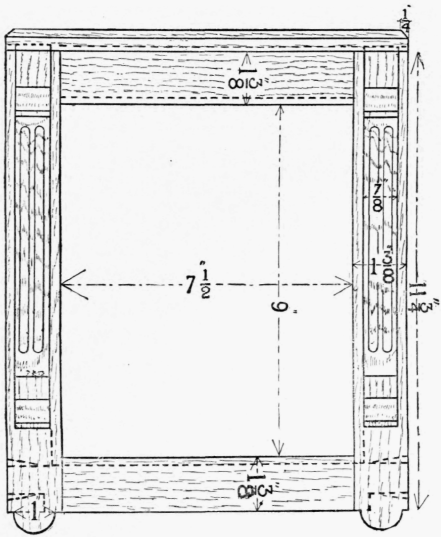
Front elevation.

Vertical section of frame.
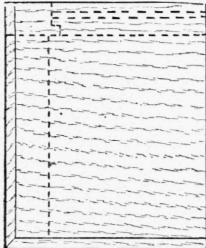
Half plan.
Tig. 268.
For framing, two pieces ...............
" " ......................
„ shelf, one piece ................
„ brackets „ .........................
„ back ,, ..........................
„ fillets „ .......................
14 ins. long x 1 5/8 ins. x 1 in.
10 1/2 „ x 1 5/8 „ x l „
11 x 6 1/2 x 3/4 "
13 „ x 5 1/4 „ x 1 „
10 ,, x 8 1/4 , , x 3/8 ,,
3 ft. long x 3/8 „ x3/8| „
Plane up all the wood to its proper size, and set out the framing as in fig. 269, showing the marking on the inside edges of the stiles, and fig. 270, showing the rails.
Examine the shape of the haunched tenon joint in fig. 271 before commencing; one shoulder is longer than the other owing to the rebate on the inside of the frame, and the haunch of the tenon, instead of being sloping, is square. This form of joint is stronger than that in Model XXV., and is resorted to where the joint is not seen on the haunched edge.

Fig. 269.

Fig. 270.
Complete the setting out of stiles and rails. The face edges of all four pieces of wood should be inward, and it should be observed that the short shoulders of the tenons are in front, and the long ones at the back. Make the four joints, glue them up, and wedge them.
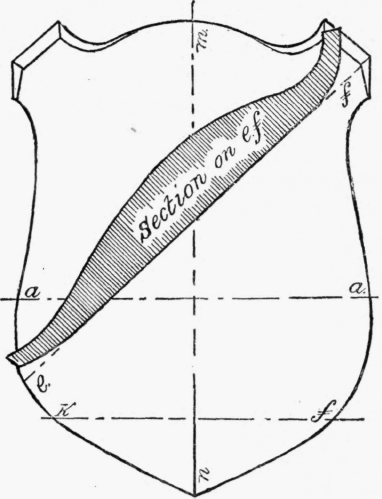
The large piece of wood for the brackets should now be set out, as in the case of somewhat similar brackets in fig. 194. Saw them out with a bow saw, and put them together to complete the modelling of the curved edges, with chisel, spokeshave, file, and glass-paper. Set out the grooves with pencil and thumbgauge, and cut out the grooves with a firmer gouge. The ends of the grooves may be finished with a carver's bent gouge.
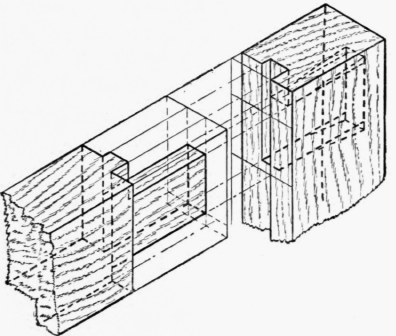
Fig. 271.
Prepare the shelf by planing it true, chamfering the outer edges, and making the groove for housing in the brackets. Clean off the framing, cut off the ends of the tenons which show outside, and model the horns. Screw on the brackets and nail on the shelf. The back may now be prepared and fitted in.
Elevation.

Side elevation.
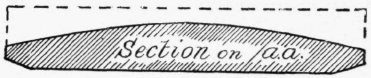

Fig. 272.
From Series V. ' Hand and Eye Training ' Cards, by kind permission of Messrs. Cassell & Co., Ld.
Continue to:


My Books

